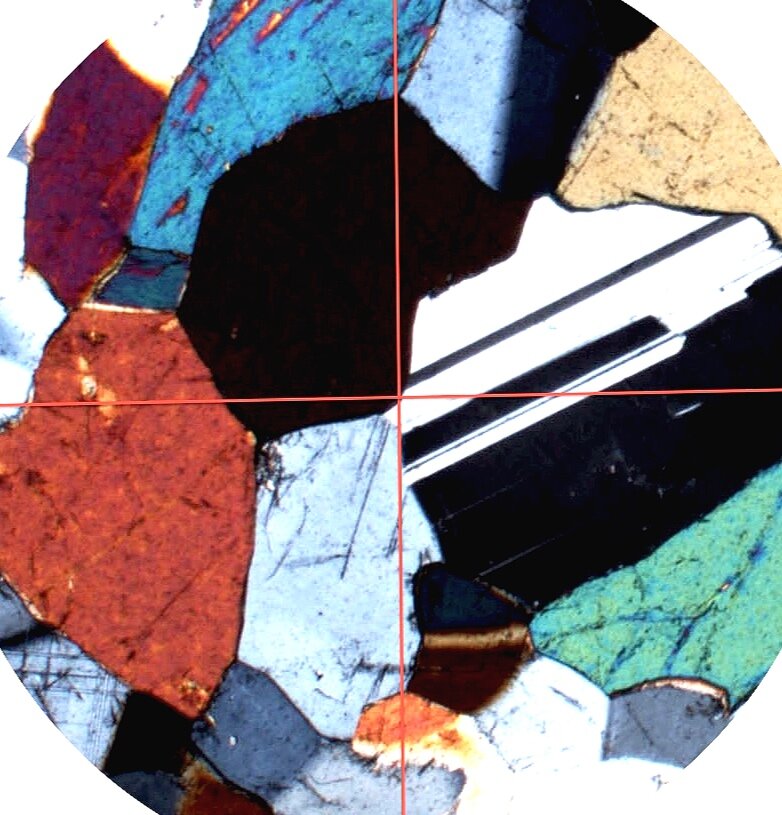
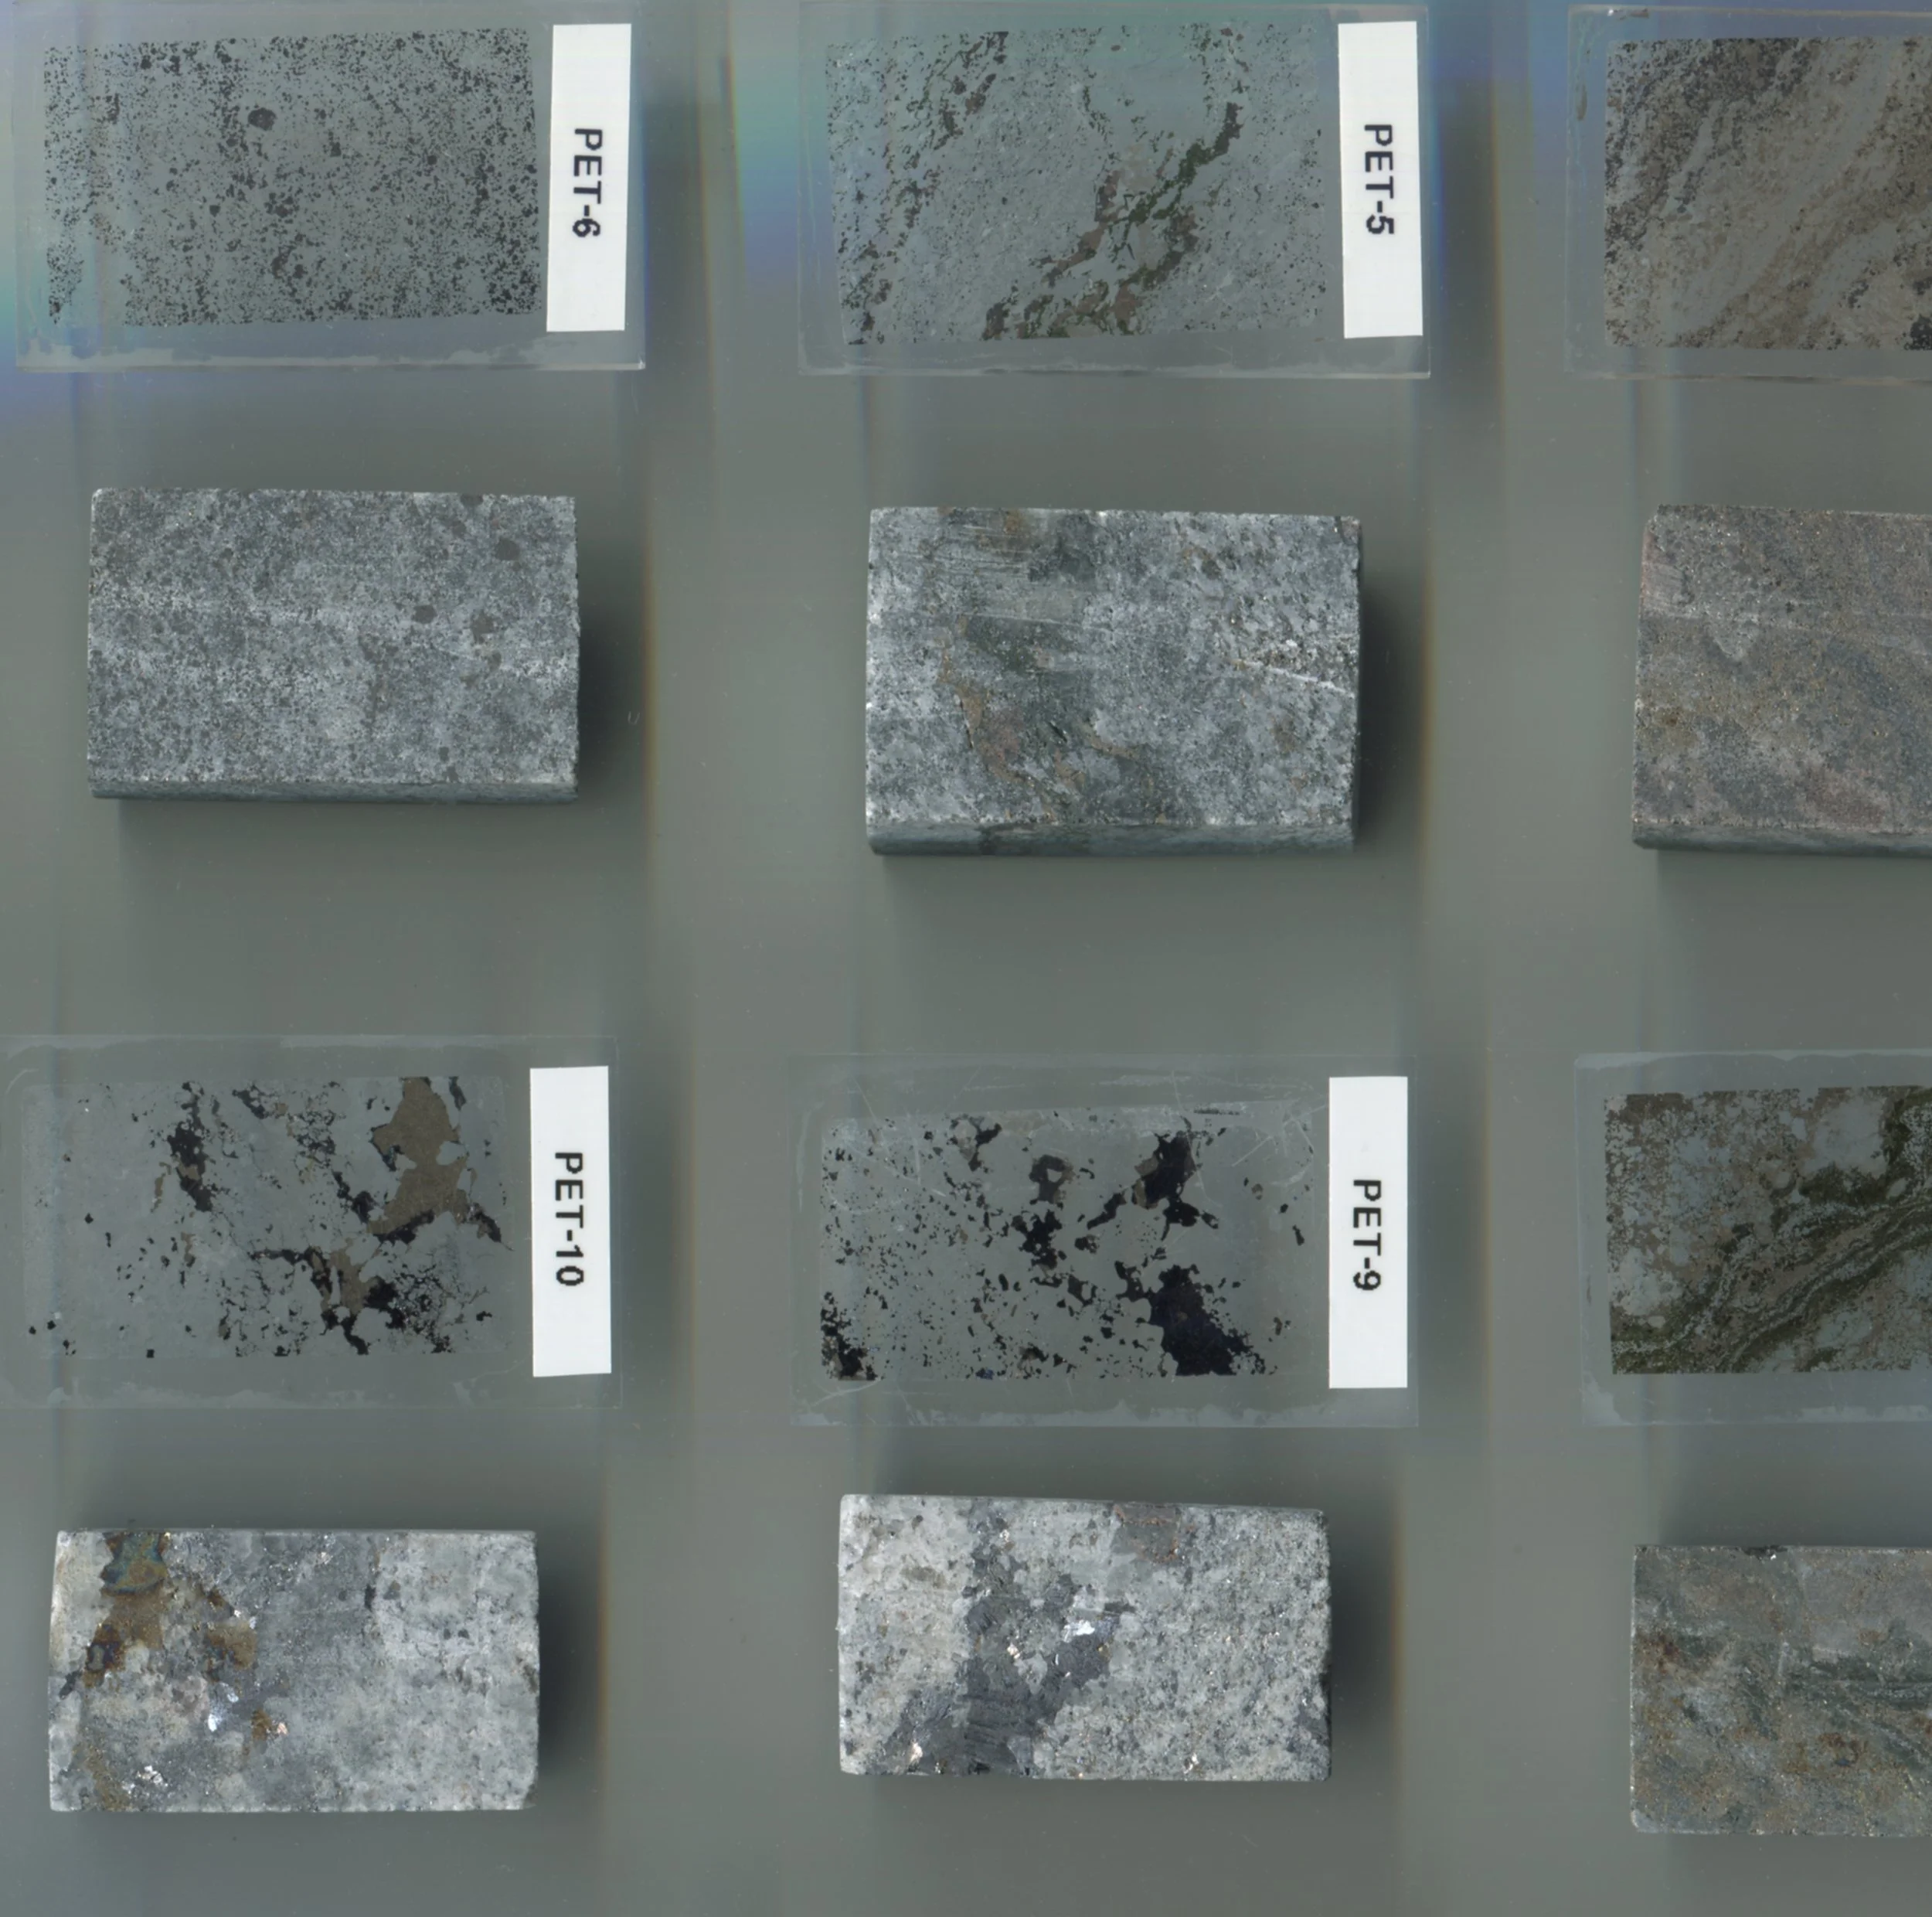
Petrographic results are only as good as the sample behind them.
The aim is to collect material that answers a defined geological question, retains its spatial and orientation context, and can be traced back to the core tray.
Sampling Drill Core for Petrographic Analysis
1. Define the objective first
• State the question (lithological classification, alteration zonation, paragenesis, ore mineralogy, texture or metallurgical characterisation). It determines sample type, number and position.
• Log and photograph first. Sample after logging and wet/dry core photography, using assay, pXRF or hyperspectral data to target intervals.
2. Consult the petrographer and thin section lab for availability, costs and turnaround times
• Specify section type (standard 30 µm, polished, or polished block), size, cut orientation, any staining (e.g. K-feldspar, carbonate) and impregnation.
• Supplier information: If needed ask for quotes, set up supplier in your company system and prepare purchase orders
3. Select representative, purposeful samples
• Target key relationships: lithological and alteration contacts, vein–halo pairs, cross-cutting relationships, mineralisation styles and fabric or strain gradients.
• Include a baseline. Pair altered and mineralised samples with least altered or barren material, and space samples systematically across zonation profiles.
• Take enough material for the intended slide format (typically 5–10 cm of half or quarter core). Avoid drilling-induced fractures and broken or weathered core unless it is the target. Clay rich samples are tricky to prepare and may incur extra costs. For RC/AC chips, select the biggest possible with several from each interval to be examined.
• Tie to assays carefully. Sample the same interval from retained core, not the half allocated for assay, unless agreed with the project geologist.
4. Mark orientation and cut plane on the core
• Before removal, mark the sample interval, way-up, the cut plane and the face to be sectioned. For oriented core, transfer the orientation line.
• Specify the cut relative to the feature of interest (e.g. perpendicular to foliation or veining) and which side is the billet and which is the retained offcut. Always mark on flat faces, not curved surfaces as the section obviously will be flat.
• Use durable paint pen or marker, kept off the analytical surface.
5. Document for traceability
• Assign a unique sample ID and record hole ID, depth interval, core size, half/quarter/whole core, orientation data and a short geological description.
• Photograph the core with tag and scale before and after cutting, with the billet position marked. Tag the tray at the sample position and log everything in the sample register.
• Record the purpose of each sample (e.g. “vein–halo contact”, “sulphide stringer”) so the target is clear to the laboratory and to future users.
6. Cut and handle to preserve integrity
• Use a diamond saw with a clean blade. Use dry cutting or a non-aqueous coolant for water-sensitive material (clays, evaporites, soluble sulphates and salts).
• Consolidate friable, porous or clay-rich core by epoxy impregnation before cutting (with dye where porosity is of interest).
• Avoid heat, contamination and oxidation, particularly for fluid inclusion, microprobe and LA-ICP-MS work and for reactive sulphides. Store sealed and dry.
• Return labelled offcuts to the tray so retained material remains available for future work.
7. Brief the laboratory/petrographer
• Let them know when samples are sent and with what service.
• Supply a hard copy sample list with the samples, and a digital version to the petrographer.